
This post may contain affiliate links. Please read our disclosure.

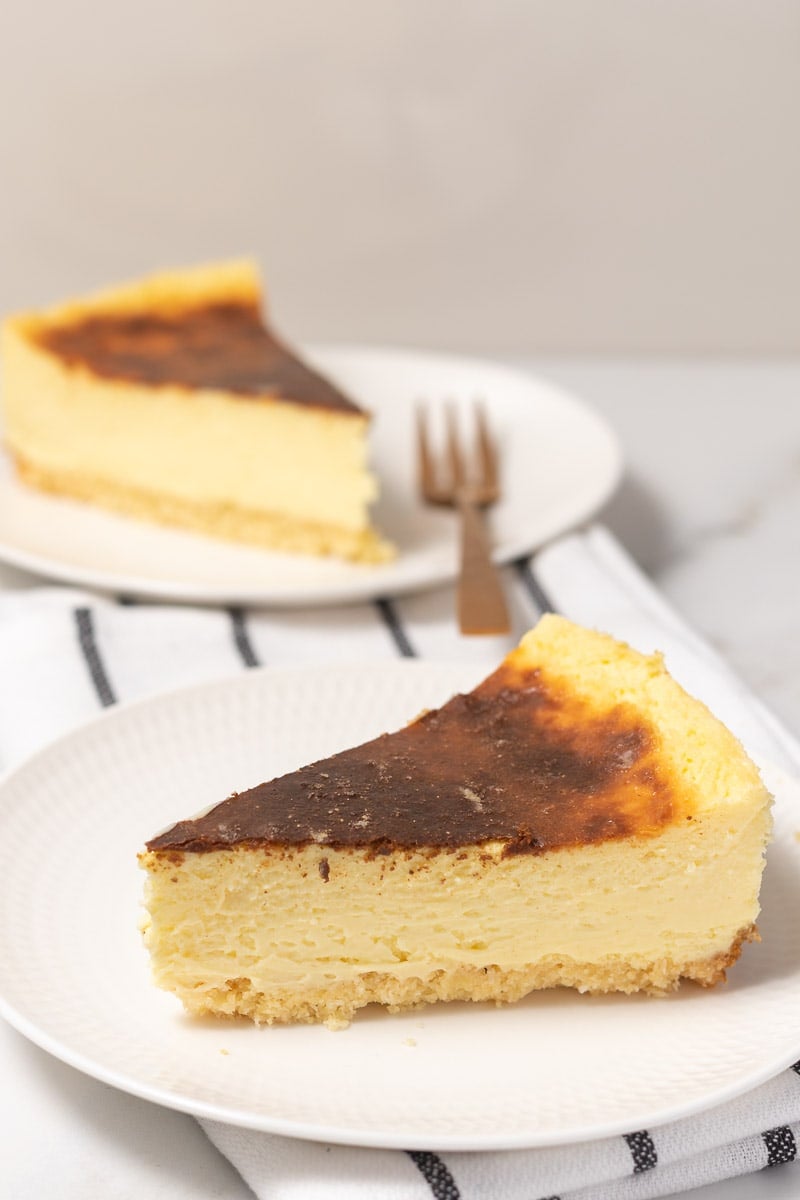
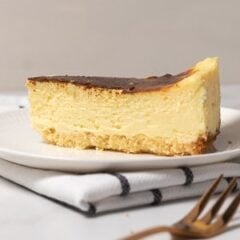
This gluten-free, low-carb cheesecake has the flavor and rich, creamy texture of a traditional cheesecake without the sugar! This is the perfect keto dessert to share with family and friends.
Would you be surprised to know that adapting a traditional cheesecake recipe to make it diabetes-friendly, low-carb, and gluten-free is actually really simple?
All it takes to make a low-carb cheesecake are a few simple substitutions!
That’s why this is a perfect dessert to share with friends and family. It tastes exactly like a traditional cheesecake because it uses all of the same main ingredients.
After all, the filling is made from cream cheese, eggs, sweetener, lemon juice, and vanilla extract. By using a low-carb sweetener like erythritol instead of sugar, you instantly reduce the carbs.
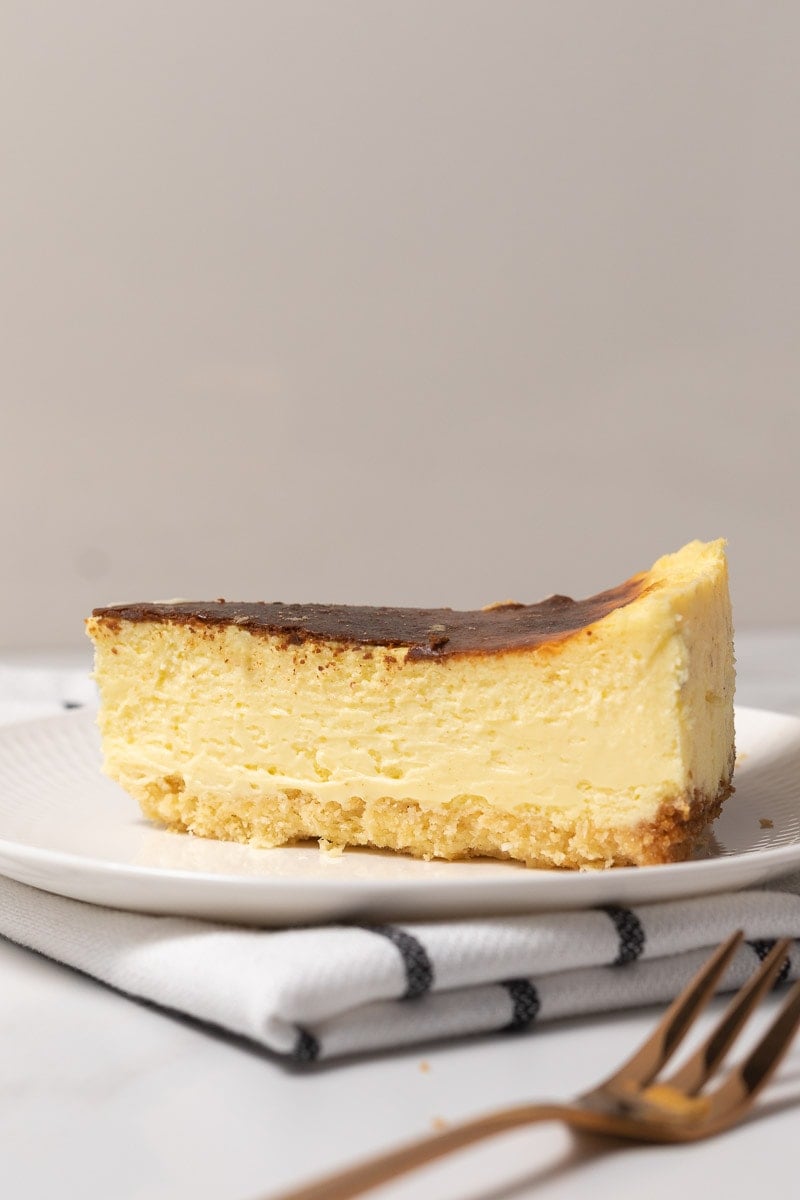
And when you pour it over a flaky, delicious low-carb crust, you’ll have yourself a rich, creamy, guilt-free dessert that tastes just as good as the real thing!
How to make a low-carb cheesecake
This cheesecake comes together in two main steps. First, you’ll mix together the dough ingredients and bake the crust. Then, you simply beat together the ingredients for the filling before pouring over the crust, baking, then allowing it to chill until it’s ready to serve!
You can see me make the recipe in this short video or read the step-by-step instructions below:
You’ll be amazed how easy this decadent dessert is to make. Just like your friends and family will be amazed that it’s low carb!
Step 1: Preheat oven to 350F (180°C) and line a springform pan with aluminum foil.
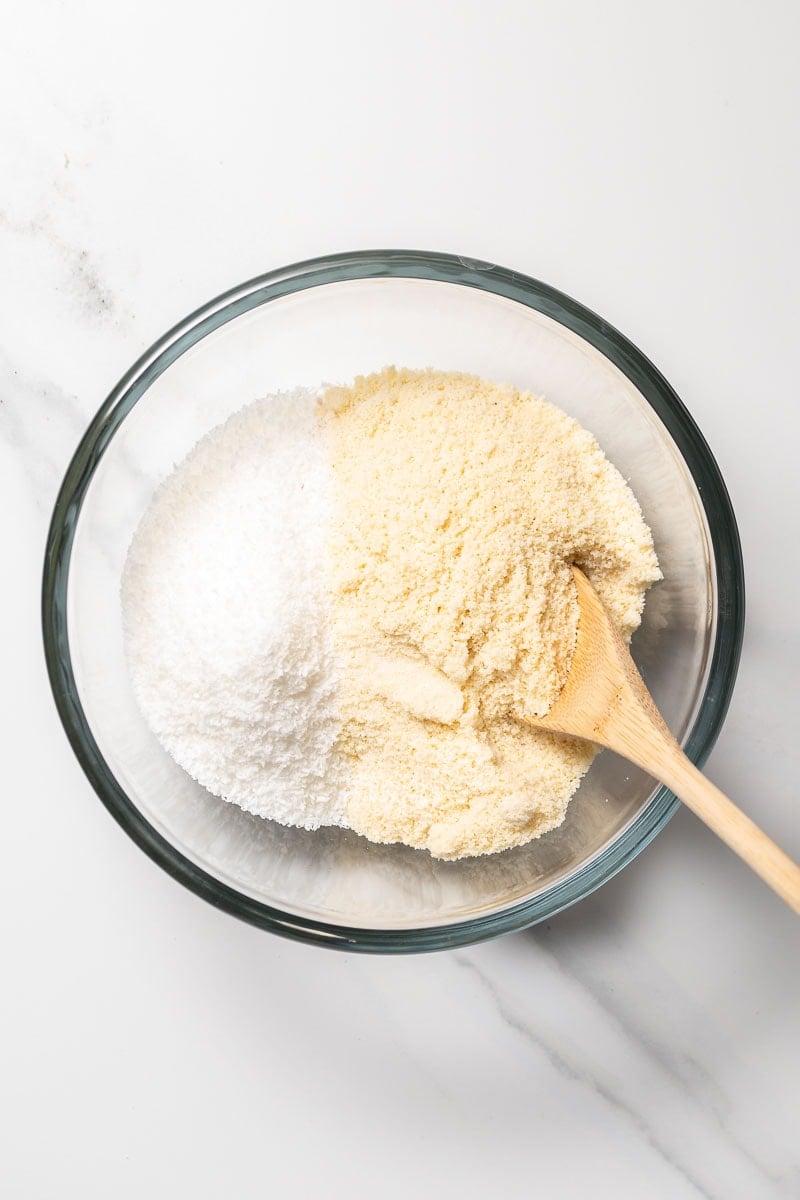
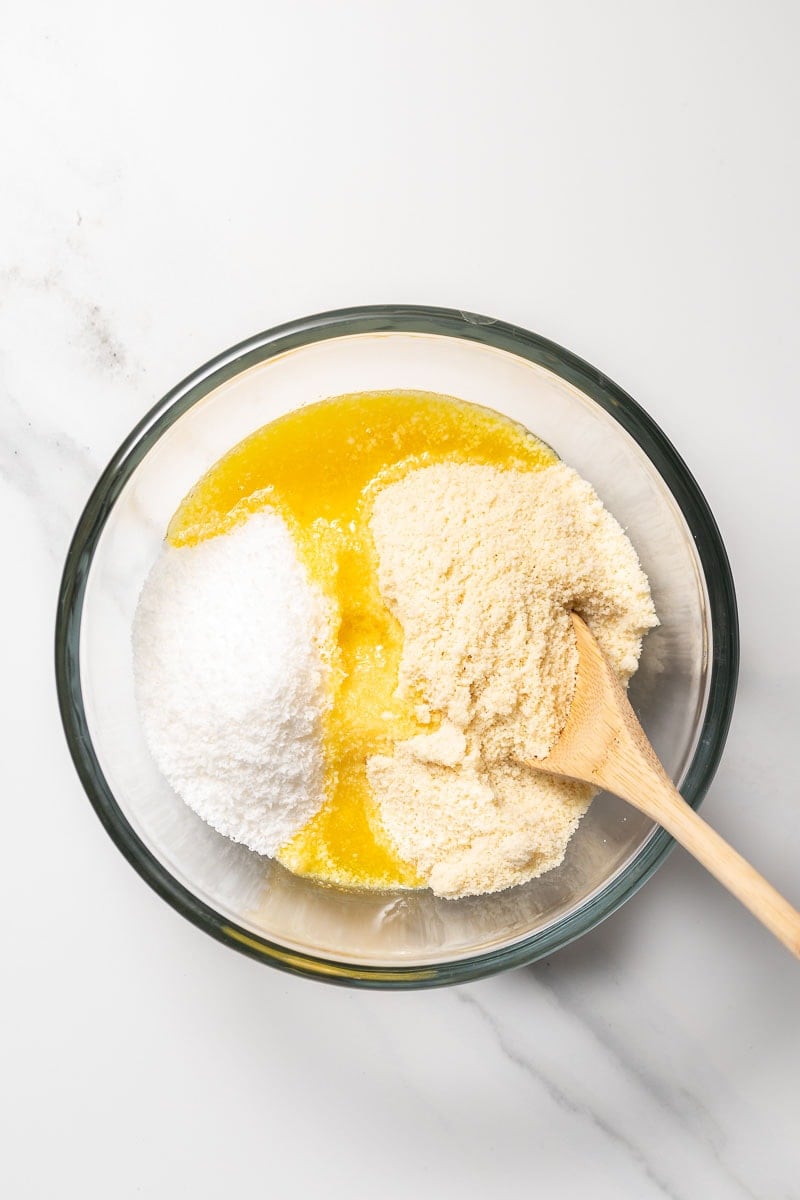
Step 2: In a large mixing bowl, combine the almond flour, shredded coconut, and salt. Mix well.
Step 3: Gently melt the butter, then add to the dry ingredients along with the liquid Stevia.
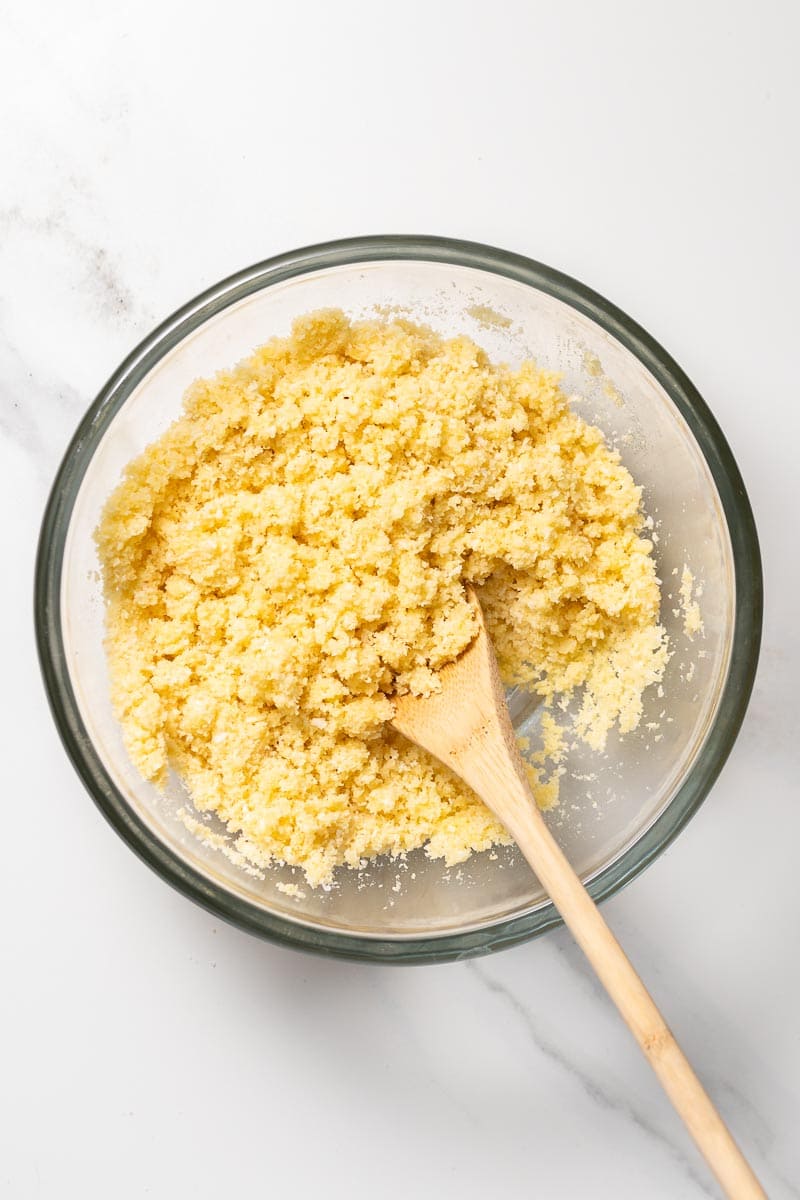
Step 4: Stir until well-combined. The dough will be crumbly, but should almost stick together when pressed between the fingers.
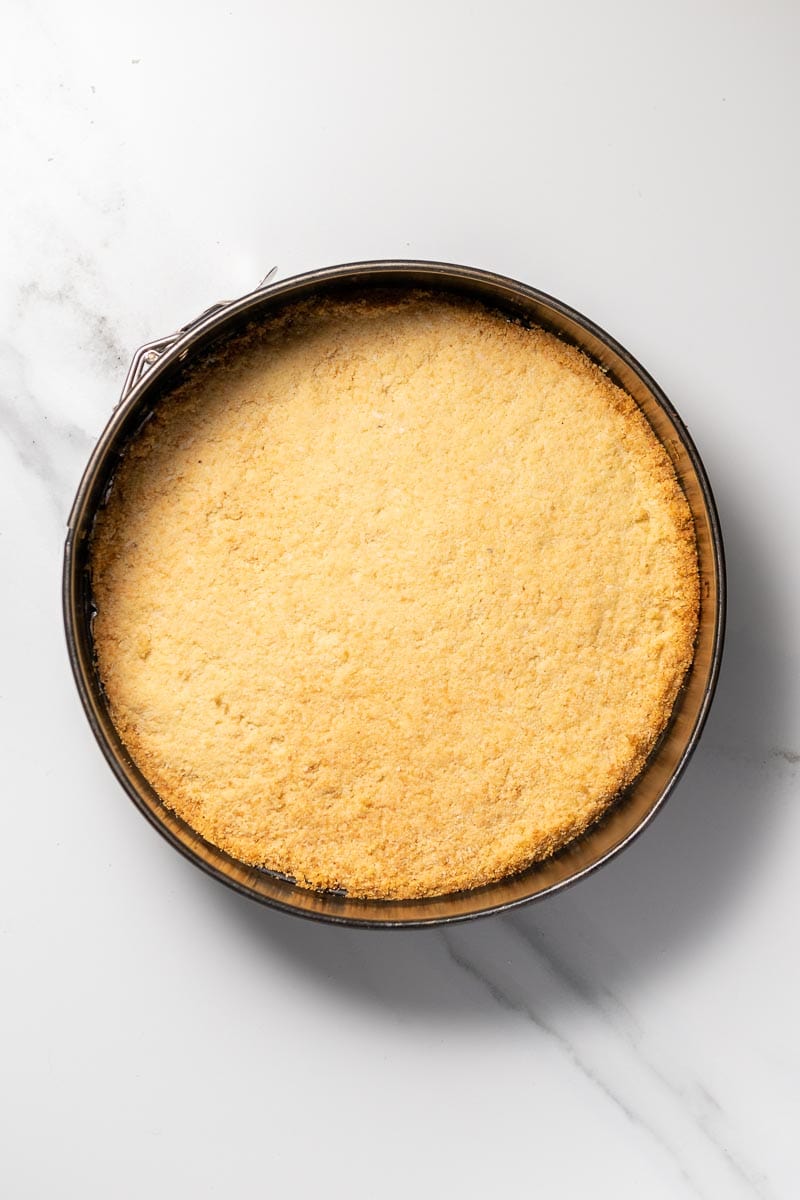
Step 5: Transfer the dough to the springform pan and press down in an even layer.
Step 6: Bake at 350ºF for 10 – 15 minutes until the crust starts to turn golden and brown around the edges. Remove from the oven and allow to cool completely.
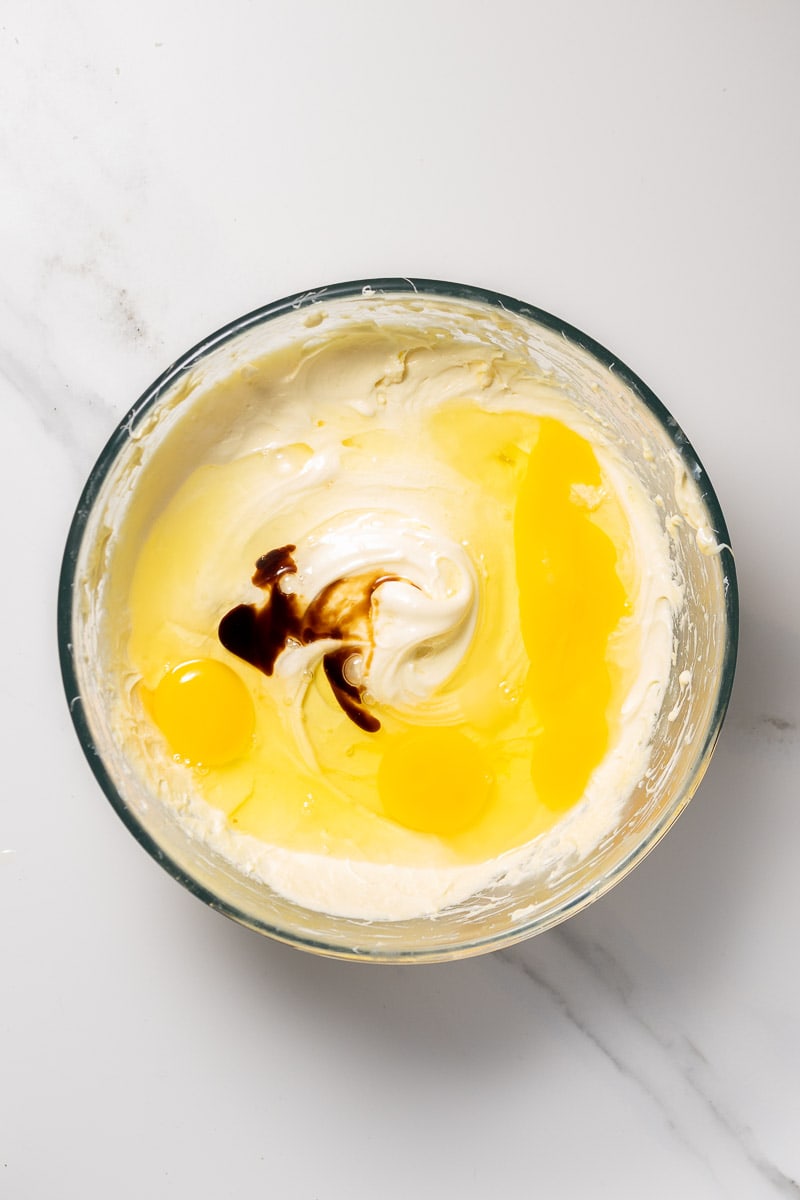
Step 7: In a large mixing bowl, beat together the cream cheese and powdered sweetener. Then, beat in the eggs one at a time until just incorporated. Finally, beat in the remaining ingredients, being careful not to overmix.
Step 8: Pour the filling into the springform pan over the cooled crust. Tap the pan against the counter to remove any spaces or bubbles.
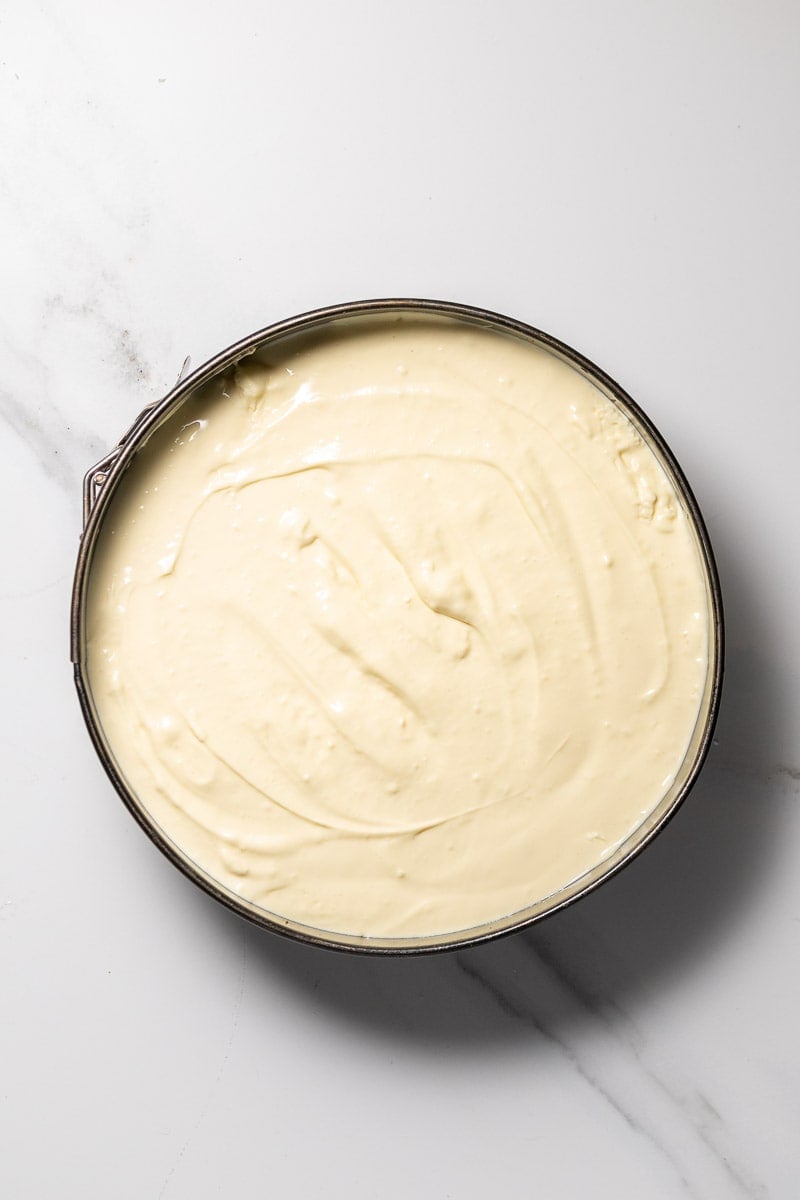
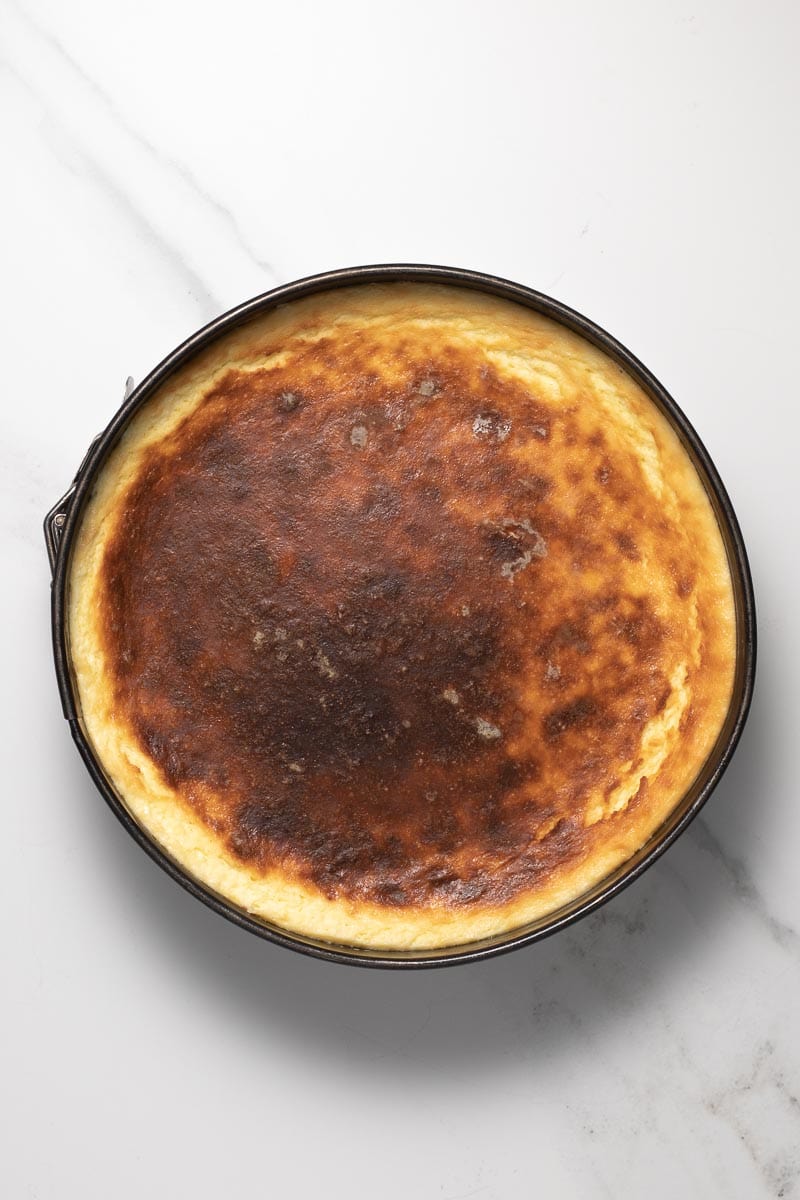
Step 9: Bake for about 50 minutes until the top has browned and the center of the cheesecake jiggles slightly. Remove from the oven and allow to cool to room temperature.
Step 10: Once the cheesecake has cooled to room temperature, cover and refrigerate for at least 4 hours or overnight.
Step 11: To remove from the pan, wrap a hot towel around the sides for one minute before slicing with a hot knife.
Your low-carb cheesecake is now ready to serve!
Using a water bath to bake a cheesecake
One of the best ways to bake a cheesecake is to use a water bath.
If you haven’t heard of a water bath before, it simply means surrounding the springform pan with water about 2 inches deep when baking. This keeps the outer edge of the cheesecake from cooking too quickly and also releases moisture to prevent bubbling and cracking on the surface.
It’s also incredibly easy.
To make a water bath, get a large roasting dish and fill it partway with cold water.
Then, wrap the bottom and sides of your springform pan with a double layer of aluminum foil. This is to prevent water from getting into the pan, so make sure that the foil is watertight and won’t let any water leak into the pan.
Finally, set your springform pan in the roasting dish with the water. You want the water to come up about 2 inches high on the outside of the pan. Then, put the whole thing in the oven to bake!
Tips for preparing the perfect filling
Making the filling for this cheesecake is as simple as mixing together the ingredients. It’s a breeze! However, I do have a few pointers to make sure the filling turns out as creamy, smooth, and delicious as possible!
First, using a powdered granulated sweetener (I used erythritol) is a must for this recipe. Powdered sweetener will melt evenly through the filling for a perfect, smooth texture.
If your sweetener is granulated, simply blend it in a high-speed blender for 20-30 seconds.
With cheesecake, our goal is to make a smooth custard filling that is light and creamy. That’s why I recommend beating the filling in two steps:
- Firstly, beat the cream cheese with the powdered sweetener until fluffy and well mixed.
- Then, beat in the eggs one at a time until just incorporated before mixing in the rest of the ingredients.
To avoid bubbles forming in the filling, be careful not to overbeat the mixture. You simply want everything to be nice and smooth for a perfect, evenly-set cheesecake.
Allowing your cheesecake to cool
It is super important to let this cheesecake set in the refrigerator for at least a few hours, preferably overnight, to fully set and firm up.
If you try to cut the low-carb cheesecake fresh from the oven, it will collapse in on itself.
The cooling process should be seen as part of the actual cooking process, not just an optional step at the end. It’s vital to the final texture of your dessert!
Once the cheesecake has fully set, you can remove it from the springform pan by wrapping a hot towel around the sides for a minute. This helps the crust melt slightly and loosen from the pan.
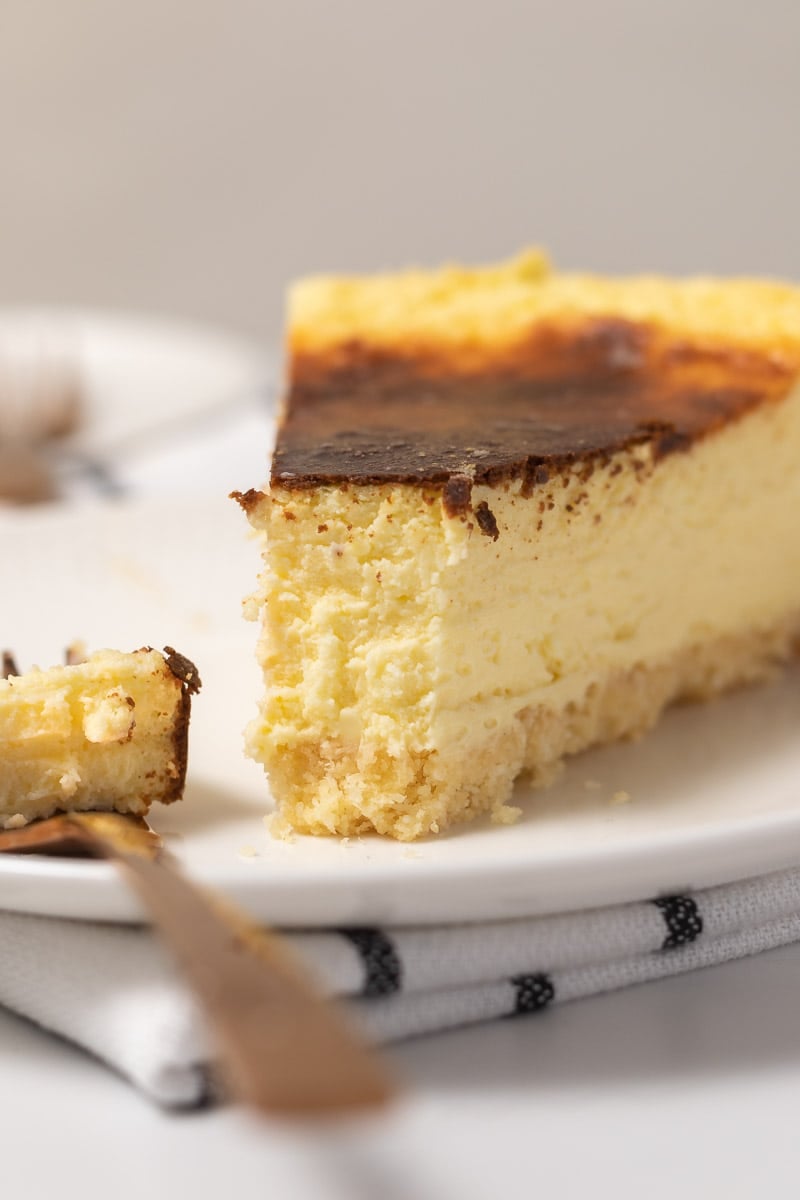
Then, run a knife under hot water to cleanly cut each slice.
Storage
Your cheesecake can be stored covered in the refrigerator for up to 5 days.
You may notice that the texture gets even better the longer it sits in the refrigerator!
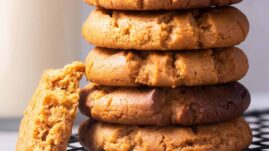
Other delicious low-carb dessert recipes
There are so many ways to enjoy desserts without ruining your diet. Here are some of my favorite low-carb dessert recipes that I know you’ll love:
You can also check out this roundup I created of 10 decadent low-carb desserts for even more low-carb dessert inspiration!
Once you’ve tried this dish, please don’t forget to let me know how you liked it and rate the recipe in the comments below!
Low-carb cheesecake (Keto & Gluten-Free)
Ingredients
For the cheesecake base:
- 1 1/5 cups almond flour
- 2/3 cup shredded coconut, (unsweetened)
- 3 1/5 tablespoon melted butter
- 6 – 9 drops liquid Stevia
- pinch of salt
Cheesecake filling ingredients:
- 32 oz. cream cheese
- 3 eggs
- 1 1/4 cups powdered Erythritol, (you can use any 1:1 sugar replacing sweetener here)
- 1 tablespoon freshly squeezed lemon juice
- 1 teaspoon vanilla extract.
Instructions
Crust:
- Preheat oven to 350F (180°C) and line a springform pan with aluminum foil.
- In a large mixing bowl, combine the almond flour, shredded coconut, and salt. Mix well.
- Gently melt the butter, then add to the dry ingredients along with the liquid Stevia.
- Stir until well-combined. The dough will be crumbly, but should almost stick together when pressed between the fingers.
- Transfer the dough to the springform pan and press down in an even layer.
- Bake at 350ºF for 10 – 15 minutes until the crust starts to turn golden and brown around the edges. Remove from the oven and allow to cool completely.
Cheesecake Filling:
- In a large mixing bowl, beat together the cream cheese and powdered sweetener. Then, beat in the eggs one at a time until just incorporated. Finally, beat in the remaining ingredients, being careful not to overmix.
- Pour the cheesecake filling into the springform pan over the cooled crust. Tap the pan against the counter to remove any spaces or bubbles.
- Bake for about 50 minutes until the top has browned and the center of the cheesecake jiggles slightly. Remove from the oven and allow to cool to room temperature.
- Once the cheesecake has cooled to room temperature, cover and refrigerate for at least 4 hours or overnight.
- To remove the cheesecake from the pan, wrap a hot towel around the sides for one minute before slicing with a hot knife.

Marien
Can I add stevia or monk fruit to make the filling and at what measurement? Thanks
Christel Oerum, MS
The recipe has 1 1/4 cups powdered Erythritol which you can replace with Stevia or Monk fruit (you can use any 1:1 sugar replacing sweetener)
Frido
Is there anything I can substitute the Stevia with? (Stevia leaves a bad aftertaste in my mouth.) Would honey be ok or would that make it less healthy?
Christel Oerum
Honey would increase the amount of carbohydrates. If you aren’t that concerned with carbohydrates honey could be an option. If you want to keep it low carb you could try Monkfruit
Olivia Delgado
I made these for my grandpa who recently was told to watch his blood sugar but he misses me making him cheesecakes I have to say this recipe is a really good one! My first try at sugar free and it tasted almost the same!! He loved it btw!
Danielle
Does baking the water bath method have the same bake time as the non-water bath method?
Christel Oerum
The reason for using the water bath method is that it bakes the cake very gently, so it won’t darken, curdle, or crack. Also, cheesecakes baked without a water bath are more likely to overtake, so I’ll suggest you dial down the heat, extend the baking time, and check in on it frequently.
Katherine
I savored this, it was just what I was looking for. You’ve ended my 4 day long hunt! Have a great day.
Bye
AV
What size pan should this be baked in? An 8, 10 or other?
Christel Oerum
We suggest a 9-inch non-stick springform
Jennie
1/5 of a tablespoon and a 1/5 cup….what are the equivalents please? These are not measuring sizes I have at home.
Christel Oerum
1/5 cup is just shy of 1/4 cup, as for 1/5 tablespoon I’d just eyeball what’s a little less than 1/4 of the spoon
Jen
Is there a way to make this without coconut? Like what would you substitute?
Christel Oerum
You could try adding flaxseeds or hempseeds to get the crunch
Kelly
There’s no eggs specified in the recipe but there are in the instructions? I added a couple of eggs. I also had no almond flour! ( those darn macarons I made!) so I substituted coconut flour and some peanut flour. Changes the macros a bit but looks good!
Christel Oerum
Oh my gosh, thank you so much for pointing that out! I’m so glad you added the eggs on your own, for yes indeed it does require eggs. I’ve updated the recipe. Thank you again
Sasha
oh my goodness this is great