
If you use a CGM (Continuous Glucose Monitor), you probably already know how much of a game-changer this technology can be when it comes to managing your diabetes.
Having insight into our blood glucose history, where what our blood sugar is right now, and where it’s headed brings peace of mind and makes managing diabetes a lot easier and safer.
But even if you love your CGM, do you utilize the trend arrows for insulin adjustments? If not, you’re truly missing out on the full potential of the technology.
By paying attention to the CGM trend arrows, you’ll be able to make more proactive and informed choices when it comes to adjusting your insulin doses.
The information in this post is specific to the Dexcom CGM system. Other CGM systems use trend arrows as well, but they may have different meanings so please be careful utilizing the information here if you use another system.
What the Dexcom CGM trend arrows tell us
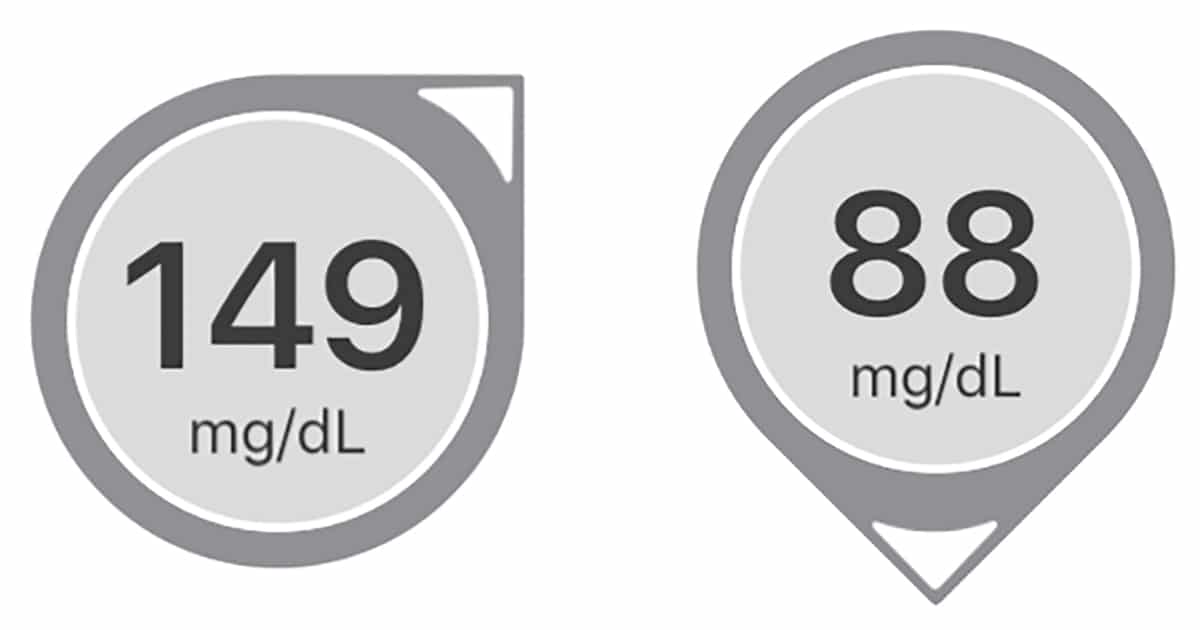
When you open your Dexcom app or look at your receiver, you’ll see your current blood sugar as well as an indication of what your blood sugar will be in 30 minutes.
That indication comes in the form of arrows. On the receiver, the arrows are to the right of your current blood sugar. In the app, it’s shown as a circle with your blood sugar and the arrows around the circle.
You probably know that an up arrow indicates that your blood sugar is rising and a down arrow that it’s falling, but do you know by how much and how to include it in your insulin adjustments?
Let’s start with what the arrows indicate according to the manufacturer:
| Trend Arrows | Meaning |
| 2 arrows straight up | BG could increase more than 90 mg/dL (5 mmol/L) in 30 min. |
| 1 arrow straight up | BG could increase up to 90 mg/dL (5 mmol/L) in 30 min. |
| 1 arrow slightly up | BG could increase 30-60 mg/dL (1.7-3.3 mmol/L) in 30 min. |
| 1 arrow to the side | No BG increase or decrease of more than 1 mg/dL (0.05 mmol/L) per min. |
| 1 arrow slightly down | BG could decrease 30-60 mg/dL (1.7-3.3 mmol/L) in 30 min. |
| 1 arrow straight down | BG could decrease up to 90 mg/dL (5 mmol/L) in 30 min. |
| 2 arrows straight down | BG could decrease more than 90 mg/dL (5 mmol/L) in 30 min. |
Source: Dexcom G6 guide
Real-life example
Let’s say my blood sugar is 120 mg/dL (6.7 mmol/l) and my Dexcom is showing 2 arrows straight up.
In this case, I can expect my blood sugar to potentially increase to above 210 mg/dL (120 + 90) within the next 30 min.
I try to stay below 200 mg/dL so I’d most likely give myself a correction bolus based on this knowledge (as long as I didn’t just eat a meal or already have enough active insulin on board that just hasn’t kicked in yet).
How to calculate your insulin adjustments based on the Dexcom trend arrows
Your CGMs arrows can be incredibly helpful for blood sugar management — but only if you know how to respond to those arrows.
Several medical professionals have come up with approaches for using CGM arrows to help patients dose insulin safely and effectively. Most importantly, they all agree that we should take the rise or fall rate into account when adjusting our insulin doses. What they disagree on, however, is exactly how insulin doses should be adjusted based on those arrows.
The Endocrine Society reviewed four published approaches in 2017 and came up with their own guidelines. Their guidelines were published in the Journal of the Endocrine Society in December 2017 (please note that the guidelines discussed here are for adults only).
Since I consider the Endocrine Society the highest authority when it comes to this type of recommendation, I’m going to share their recommendation with you.
Although the guidelines were written for Dexcom G5, no changes have been made to the arrows for the newer systems and the recommendations should be valid for Dexcom G6 as well.
The Endocrine Society recommends that you adjust your insulin based on what your blood sugar will be in 30 minutes, rather than what it is right now. But instead of calculating what your future blood sugar will be in 30 minutes, they recommend that you adjust your correction factor (CF).
This correction should be made on top of any correction for your current blood sugar as well as any carbohydrates consumed.
Your CF is how much one unit of rapid-acting insulin (like Humalog or Novolog) will decrease your blood sugar. If you use a pump, you can see your CF in your settings. If you manage your diabetes with injections and don’t know your CF, you can ask your medical team to help you calculate it.
Endocrine Society’s recommended correction based on Dexcom trend arrows
| Arrows showing | Correction Factor (CF) | Correction dose (IU) |
| 2 arrows straight up | <25 25-50 50-75 >75 | +4.5 +3.5 +2.5 +1.5 |
| 1 arrow straight up | <25 25-50 50-75 >75 | +3.5 +2.5 +1.5 +1 |
| 1 arrow slightly up | <25 25-50 50-75 >75 | +2.5 +1.5 +1 +0.5 |
| 1 arrow to the side | <25 25-50 50-75 >75 | No adjustment No adjustment No adjustment No adjustment |
| 1 arrow slightly down | <25 25-50 50-75 >75 | -2.5 -1.5 -1- 0.5 |
| 1 arrow straight down | <25 25-50 50-75 >75 | -3.5 -2.5 -1.5 -1 |
| 2 arrows straight down | <25 25-50 50-75 >75 | -4.5 -3.5 -2.5 -1.5 |
Source: https://academic.oup.com/jes/article/1/12/1445/4642923
Let’s sum it up with an example:
I’ve just rolled out of bed in the morning, had no lows overnight, and I’m about to sit down for a meal of 20 grams of carbohydrates. My blood sugar is 120 mg/dL (6.8 mmol/l) with two arrows up. This means that I’ll have to do three calculations:
- First, I have to calculate the dose for my carbs. Assuming my Insulin to Carb Ratio (ICR) is 10, I’d need 2 IU of insulin to cover my 20 grams of carbs.
- Secondly, I’ll have to calculate my correction dose based on my current blood sugar. If my CF is 25 and my target blood sugar is 95 mg/dl (5.3 mmol/l), my correction dose is 1 IU (120-95 = 25 and 25/25 = 1 IU).
- Thirdly, I’d have to calculate the correction based on the arrows. Since I have two arrows up and my CF is 25 according to the recommendations, I’ll need a 3.5 IU correction.
Adding all that up my total dose would be 2 IU + 1 IU + 3.5 IU = 6.5 IU.
Had my blood sugar been lower than my target or had I seen downwards arrows, I would have ended up with a lower recommended dose.
Just to make sure that makes sense, let’s do another example:
I again just rolled out of bed and am about to sit down for a meal of 20 grams of carbohydrates, but now my blood sugar is 120 mg/dL (6.8 mmol/l) with one arrow straight down.
All that changed compared to the last example is the direction of the arrow, which changes calculation #3.
Since I now have one arrow straight down and my CF is 25, according to the recommendations I’ll need a -2.5 IU correction.
Adding all that up, my new total dose would be 2 IU + 1 IU – 2.5 IU = 0.5 IU
Phew, that’s a lot of math. Check out the next section on how I’d simplify it.
My advice for using the Dexcom trend arrows
The endocrine recommendations make complete sense to me, but it’s a lot of math! They also don’t allow you to take less than 0.5 IU in correction (which can be an issue if you’re very insulin sensitive).
I would rather use a bolus calculator than do all that math every time I need to bolus for a meal or a correction dose. If you have a pump, you most likely have a built-in bolus calculator. If you are on multiple daily injections (MDI) like me, you’ll have to look elsewhere.
In the past, I’ve used an app called RapidCalc for those calculations. I now use InPen, a SmartPen that sends data directly to my phone via Bluetooth and has an associated app that calculates doses and keeps track of IOB.
The InPen app and RapidCalc basically do the same as a bolus calculator, except for actually giving me my dose (please note that the RapidCalc app is not FDA-approved).
After finishing the base calculation in your bolus calculator, you can then manually add in the trend arrow correction based on your CF.
Remember to react based on what you’ll be doing the next 1 to 4 hours, not on what you’re doing when you’re about to bolus.
If you’re planning to exercise or just move more than usual (like go for a walk, shopping, cleaning, gardening, etc.) you might not need to react as aggressively as the guidelines state.
Generally, it’s recommended that you reduce your bolus and potentially also your basal (if you use a pump) before exercise. Because regular rapid insulin is active in the body for up to 4 hours (some even see a tail up to 6 hours after injection), you need to think before you bolus.
There are new ultra-fast-acting insulins available now and the endocrine guidelines do not work for these. If you use Afrezza or Fiasp, please know that these insulins peak much faster, and applying the calculations shown above could potentially be extremely dangerous.
When to NOT use the CGM trend arrows
All the publications advocating for using the trend arrows for making insulin adjustments also state that there are some situations where you should absolutely NOT use them or at least take severe precautions.
If you plan on starting to make adjustments to your insulin dose using trend arrows, please read these precautions first.
4-hour eating window
The Endocrine Society recommends that the trend arrows are not used during the 4 hours after having a meal with a bolus. Instead, they recommend the following:
- 2 hours post-meal – Don’t correct high blood sugars to prevent insulin stacking
- 2-4 hours post-meal, blood sugar 150-250 mg/dL (8.3-13.9 mmol/l) with one or two arrows up – Consider using CF to adjust
- 2-4 hours post-meal, blood sugar >250 mg/dL (13.9 mmol/l) with one or two arrows up – Confirm with a fingerstick, test for ketones (if >300 mg/dL/16.7 mmol/l), correct using injections, if after 1 hour you still see two arrows up, repeat
- 2-4 hours post-meal, blood sugar near 150 mg/dL (8.3 mmol/l) with one arrow slightly down – Check again in 30-min
- 2-4 hours post-meal, blood sugar near 150 mg/dL (8.3 mmol/l) with one or two arrows down – Check again in 15-min
- 2-4 hours post-meal, blood sugar near 100 mg/dL (5.6 mmol/l) with one arrow slightly down OR one arrow down – Consider eating 15 g of carbs, recheck in 20-min. If >70 mg/dL (3.9 mmol/l) and downward arrows, confirm with a fingerstick and consider another 15 g of fast-acting carbs
- 2-4 hours post-meal, blood sugar near 100 mg/dL (5.6 mmol/l) with two arrows down – Follow the instructions above (f) but eat 30 g carbs
Rapidly rising blood sugar
If you see 2 arrows up on your receiver or app before a meal, it’s recommended that you are diligent with your pre-bolus and inject your insulin 15 to 20 min before eating.
Rapidly decreasing blood sugar
If you see 2 down on your receiver or app before a meal, it’s recommended that you wait and inject your insulin when you start eating, or if you’re close to 150 mg/dL (8.3 mmol/l) hold off and don’t inject until you see your BGs leveling off.
Fragile / older adults
For fragile or older adults, the Endocrine Society recommends a less aggressive insulin dose adjustment to limit the risk of hypoglycemia.
For upward-rising arrows, they recommend a 50% reduction of the suggested adjustment (e.g. from 1 IU to 0.5 IU), and for downward arrows, they recommend a 50% increase in reduction (e.g. from 1 IU to 2 IU).
Sick day management and medication considerations
Certain medications, both prescription and OTC, can interfere with your CGM readings, and trend arrows should consequently not be used for insulin adjustments. Rather than relying completely on your CGM, accompany your CGM readings with finger sticks.
Always use common sense before dosing
As with any tool in our diabetes tool kit, I’d encourage you to never just apply the recommendations blindly.
If you have a feeling that the recommended dose might be off, sometimes relying on how well you know your body is the way to go.
Although the Dexcom G5 and G6 CGMs are approved for dosing by the FDA, they can sometimes be inaccurate, so I’ll always confirm with a fingerstick before making any large dosing adjustments.


Geri Rauch
Is there a printable chart for description of the arrows?
Dan
I am new to having diabetes from a Whipple Procedure. I have a T:slim pump and use a Dexcom G7 CGM.
I don’t understand Basal rates and Bolus and how to use. My BS is always in the 200s and fluctuates from high to low.
Christel Oerum, MS
I would schedule an appointment with your endocrinologist and/or your diabetes educator. They need to teach you how to use the pump and they need to update your ratios so that they are set for you. You might also be able to get training from your local Tandem rep.
Peter J Keep
Unfortunately, this article is based on believing what DEXCOM publishes, which is very inaccurate. My experience with my G6 shows readings in direct conflict with the arrows – such as rising numbers with descending arrows. Don’t get me wrong – I love the product – haven’t had a significant hypo event since I started, and the innovative feature of sharing readings in live time with others is valuable beyond belief, as well as a constant guard against going hypo during exercise. But don’t trust the arrows – they need more work before they can be trusted.
BTW – using the same picture for 2 different authors is way below tacky – it undermines your credibility to the point that I’m considering unsubscribing.
Christel Oerum
I’m sorry to hear that you’re having such a bad experience with your Dexcom.
Would you mind specifying where you see my photo used for another author? I’m not sure what you’re referring to
Peter J Keep
Maybe I was wrong – but wasn’t your name (forgive my spelling) Falabell? And my experience with the DEXCOM is a great one, it’s just that the arrows don’t work as advertised – I’ve shown the readings to my endo office. I tell anyone with diabetes they should get one!
Christel Oerum
Christine Fallabel is one of our diabetes editors and she writes a lot of our content, but this article was written by me, Christel Oerum. Similar first names, but different people. OK, glad we sorted that, I was worried we had an error on the website.
It’s so interesting how (all) CGMs work a little differently for people. I use the arrows daily but agree that the device sometimes will be off. It’s so incredibly frustrating when it’s unreliable. But I’m with you, I wouldn’t give it up.
Thank you for the feedback
Carri
I just started using Dexcom and your article gave me much knowledge about dosing around the arrows! I am bookmarking and pinning it…thank you for this! I love your site ♥️???
Christel Oerum
That’s great, I’m so happy to hear that
Anna
I appreciate all the work and information you have available. My 9yo son was diagnosed td1 in may. I caught it early we were very lucky. We have adjusted well as he loves protein and fat and enjoys low carb options.
We use dexcom g6 and insulin pen. On novorapid 1/15 g and 6 unit Lantus at bedtime
I have one struggle. Yesterday he was a bit high going into dinner as I miscalculated lunch 5pm reading 14.5 arrow angle down. Dinner was keto ribs and yams and broccoli coconut cream and strawberries approximately 45 g carbs.
His ratio is 1 unit/15g so I gave 4 units at meal Time and correction. He ate just dinner then wait for dessert.
He had a slow arrow down then 1 hour post meal arrow straight down 8.8 gave dessert. Double arrow down to 6.6 then tapered. 730pm. Had shower arrow angle down 5.5 then 4.9 gave 1 small orange arrow straight 6.6. bedtime 830 arrow angle up 7.9 930 asleep 12.9 arrow angle up. Slept at a 17 , 15, 14, woke up at 11.3. is it the fat digestion or too much protein or incorrect timing of novorapid?
Christel Oerum
It could be a combination of the fat and protein amount, but I’m leaning towards the fat. I would discuss how to split the dose with your son’s endo. You want to mimic the dual bolus an insulin pump can do. Some guidelines say to do a 30-35% bolus increase for high-fat meals (≥ 40 g of fat) and splitting it 50/50 but finding the right split and initial dose might take a little time so working with your medical team would be optimal.
I would only really worry about the protein if it’s > 40 grams combined with carbs or > 75 grams without carbs.
High fat is not easy, but you’ll get there
Beth Bagley
You are an invaluable resource for all us type 1 diabetics who exercise regularly. Thank You!!
Christel Oerum
Thank you! That’s very kind. I appreciate you
Sally Ann Ely
Thank you for this information on Dexcom arrows. My cde tells me to watch the arrows and not the numbers, but its not easy to think what the blood sugar will be in x minutes when the arrow is going up or down.
Often I don’t calculate my Inpen until shortly before eating. Sometimes I remember to dose early if my number is high, but still go by the Inpen calculation. I have to plan my meal and count my carbs accurately sooner without last minute changes and follow your suggestions for when to dose when high or low at meal time.
Christel Oerum
It can be challenging to remember what the arrows mean which is why I think the endocrine society’s recommendations that I describe in the article makes it a little less complex